Accueil / Ressources /
Throwing in batches: 5 tips for making identical mugs
Throwing in batches: 5 tips for making identical mugs
Weighing your balls, height and width gauges, profile templates: the five habits that turn six “roughly similar” mugs into a matching set.
LC
Louis Coffin
7
Image de couverture

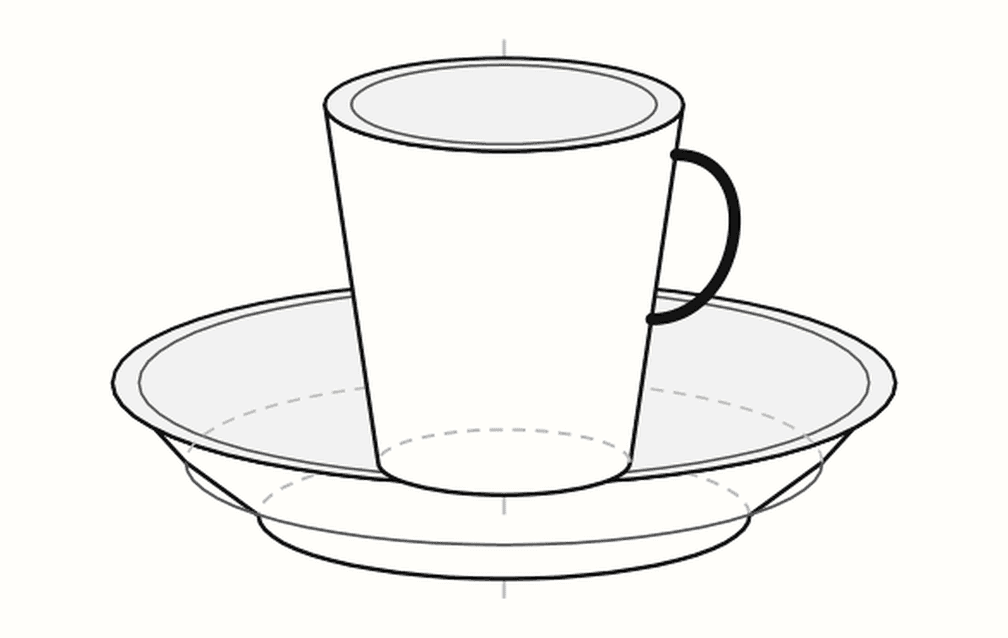
Espresso cup & saucer, on the house
A template to print, then news only when it's worth your time.
Short answer: you don’t repeat a mug by eye — you repeat it with external references: a weighed ball, a height gauge, a diameter gauge, a profile template, and identical drying for the whole batch. Five constraints, and your six mugs become a set.
Throwing one beautiful mug is a question of practice. Throwing six identical ones is a question of method. Here’s the method.
Why your mugs never quite match
Because the hand is an excellent shaping tool and a terrible measuring instrument. Between the first mug and the sixth, three things drift without you noticing:
the amount of clay (10 g of difference = 3 mm of height);
fatigue — later pieces get pulled taller, or faster;
water — clay worked at the end of a session has absorbed more water and stretches differently.
None of these drifts can be fixed by paying more attention. They’re fixed with physical references you can’t ignore.
The rule of batch throwing: never judge a pot against your memory of the last one. Judge it against a fixed reference.
8 mm apart: invisible at the wheel, obvious on the shelf.
Tip 1 — Weigh your balls (to the gram)
This is the simplest habit and it solves half the problem. Before you sit down at the wheel, prepare the whole batch: cut, weigh and ball up every piece of clay, then cover them with plastic.
For a 250 ml stoneware mug, count on 350 to 400 g of clay depending on your wall thickness. Find your weight once, write it down, and stop changing it.
Three rules:
a kitchen scale accurate to the gram is plenty — you don’t need better;
tolerance: ± 5 g. Beyond that, height moves visibly;
prepare one ball more than the number of pots you want. There’s always one that goes back in the reclaim bucket, and a batch of 5 with one failure becomes a batch of 4.
The studio notebook. For each model, record: ball weight, wet height, wet diameter, clay body. That card — not your memory — is what lets you throw the same mug again in six months.
Tip 2 — Set both a height gauge and a diameter gauge
An identical ball thrown without a gauge still gives you different mugs: the same volume of clay can become tall and narrow or short and wide.
A pointer gauge (or throwing gauge) is the dedicated tool: a vertical rod clamped to the wheel tray with an adjustable horizontal arm. Set it to your target height on the first pot; after that, every mug is pulled up until it touches the tip, and no further.
No gauge? Three studio workarounds:
a wooden ruler strapped upright to the wheel tray with a marker line on it;
a pair of outside calipers opened to your target diameter, kept within reach;
two permanent-marker lines on the wheel tray itself.
⚠️ Set these gauges to wet dimensions, not finished ones. A mug that must be 8 cm after firing, in a stoneware that shrinks 12%, is thrown at 9.1 cm (finished size ÷ (1 − shrinkage)). If you don’t know your clay’s shrinkage: measure it in one firing cycle.
The pointer gauge: the pot rises to the tip, never past it.
Tip 3 — Throw against a profile template
This is the trick production studios use and hobbyists most often skip. Weight and height give you the volume. A profile template gives you the silhouette — the flare, the curve, the foot.
A profile template is a flat piece cut as a negative, matching the exact side view of your mug (in wet dimensions). At the end of throwing, you bring it close to the still-turning wall: the daylight between template and clay shows you precisely where clay still needs pushing. You can also use it as a profile rib, pressing it against the wall so the form comes from the template itself.
How to get one:
Generate the profile of your mug in the tool (diameter, height, curve), in “wet dimensions” mode — the shape on the wheel, not after firing.
Print it at 100% (the A4 PDF carries a 100 mm control mark: check it with a ruler before cutting).
Transfer it onto a rigid, washable material: a plastic tub lid, a scrap of thin acrylic, 3 mm plywood.
Cut out the negative (the hollow) and sand the edge smooth — a rough edge ploughs the wall.
👉 [Generate my mug profile](https://app.gabarits-ceramique.com/) — free, full-size PDF or SVG for laser cutting.
Materials and cutting methods are covered in detail here: how to make your own pottery ribs and templates.
The gap between template and wall shows where clay still needs to go.
Tip 4 — Standardise the motion, not just the shape
Throw a batch in one sitting, in the same state of fatigue, with the same amount of water. A few habits that pay off:
Same number of pulls. Decide: three pulls, not four. That fourth pull thins the last mug’s wall, and you only find out in the kiln.
Sponge the water out of the base every time. Standing water softens the base unevenly and cracks one pot in six.
Throw the batch in order, without long breaks. If you must stop, cover everything and come back to the whole batch — not half of it.
Check at the same stage. Always measure at the same moment (right after the last pull, before compressing), or you’re comparing different states.
Tip 5 — Trim and dry the whole batch together
This is the home straight, and where batches fall apart.
Trimming must happen at the same hardness (firm leather-hard) for every pot, with the same foot depth. A foot trimmed 2 mm deeper changes the final height and the way the mug sits. Reset your pointer gauge for trimming.
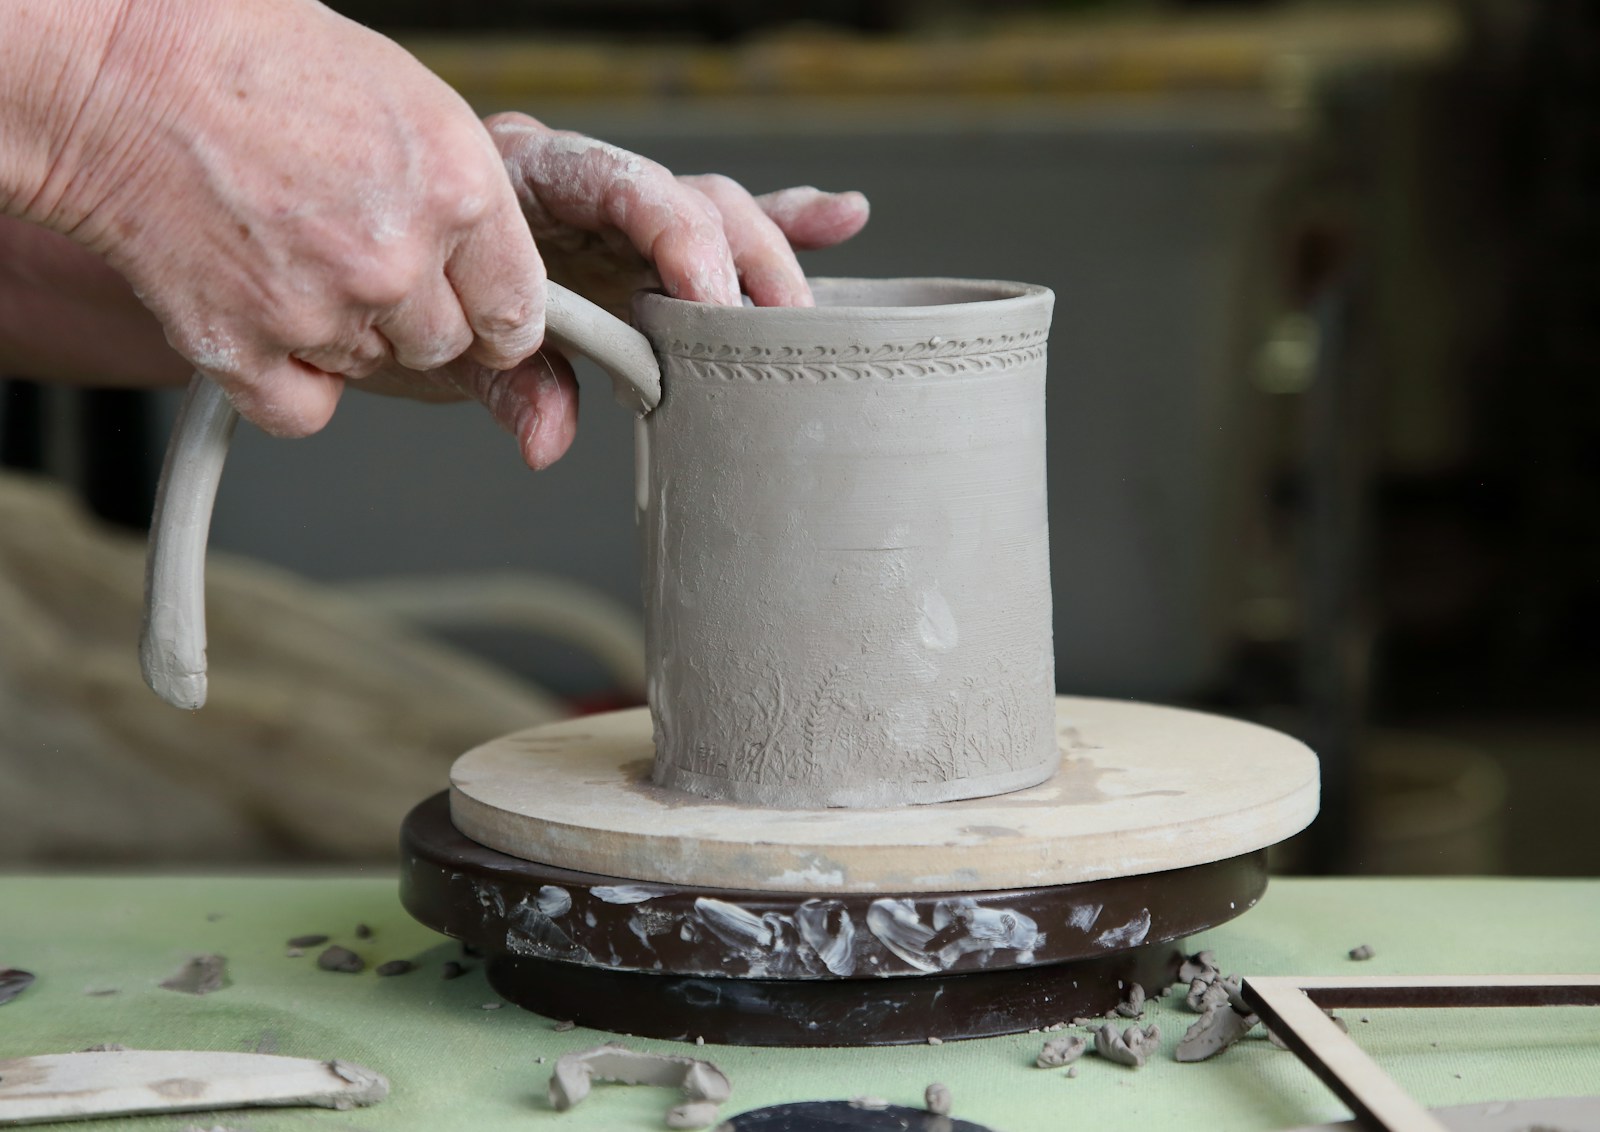
Handles should be made in one go, from the same amount of clay, and attached at the same stage. A printed handle template (developed length plus curve) guarantees six handles the same size — by far the part where the eye is least reliable.
Drying must be shared: same conditions, same shelf, same duration, loosely covered. A mug drying next to a window shrinks differently from its neighbour, and you’ll lose at the drying stage all the consistency you won at the wheel.
The whole batch dries together, under the same conditions.
Summary: the batch checklist
Stage | The fixed reference | Target tolerance |
|---|---|---|
Preparation | Balls weighed on a scale | ± 5 g |
Throwing | Pointer gauge (height) + calipers (diameter) | ± 2 mm |
Form | Cut profile template | visual contact |
Trimming | Same hardness, same foot depth | ± 1 mm |
Handle | Printed handle template | ± 3 mm |
Drying | Same shelf, same duration | — |
Frequently asked questions
How much clay do I need for a thrown mug?
Roughly 350 to 400 g of stoneware for a 250 ml mug. Weigh one ball, throw one pot, adjust, then lock in the weight.
How tall should I throw a mug that needs to finish at 8 cm?
Divide by the complement of the shrinkage: 8 ÷ (1 − 0.12) = 9.1 cm for a clay that shrinks 12%. Measure your clay’s shrinkage here.
Can I make a matching set without a wheel?
Yes — it’s easier, in fact, since slab building starts from an identically cut pattern every time. See making a slab-built ceramic mug.
What material should a profile template be made of?
Rigid plastic (a tub lid), 2–3 mm acrylic, or thin plywood. Avoid cardboard for throwing: it absorbs water and deforms by the second pot.
What tolerance should I aim for across a batch?
± 2 mm in height and diameter. Beyond that, the difference becomes obvious once the pots stand side by side.
Consistency across a batch doesn’t come from the hand — it comes from the references you give it. Weigh, gauge, and let the template decide the shape.
👉 [Generate the profile and handle template for my mug](https://app.gabarits-ceramique.com/) — free, printable at full size.
*Read next: How to calculate your clay’s shrinkage rate · How to make your own pottery ribs and templates*
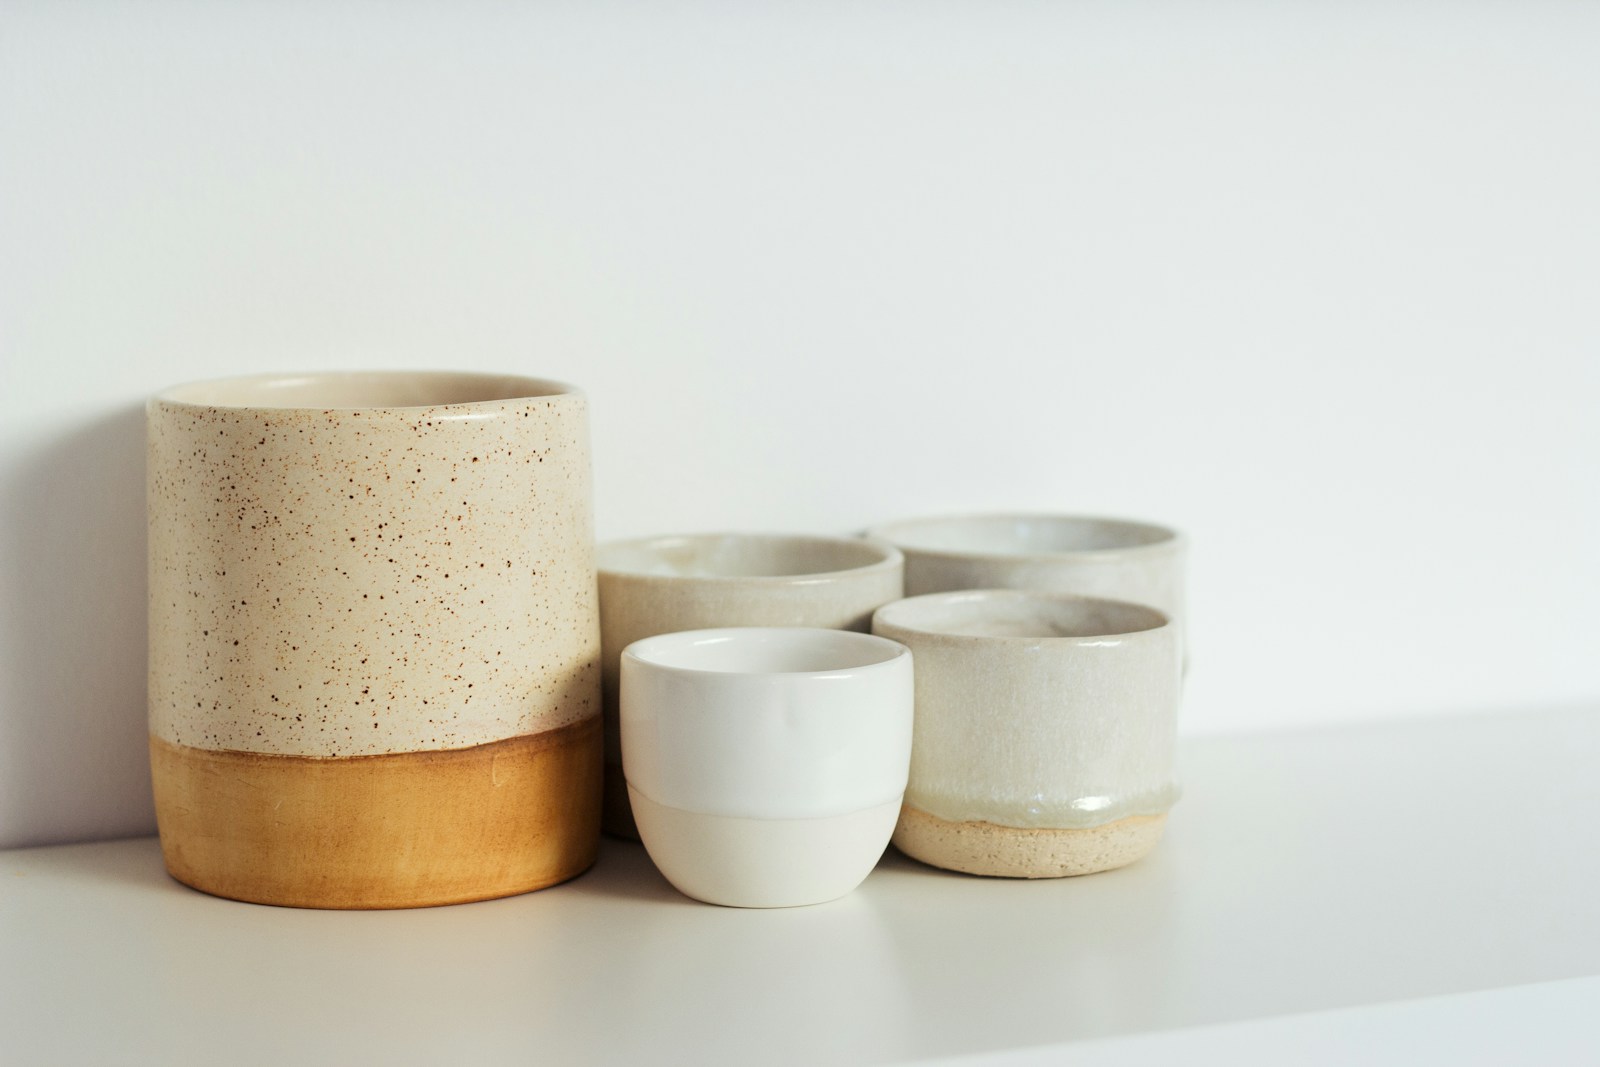
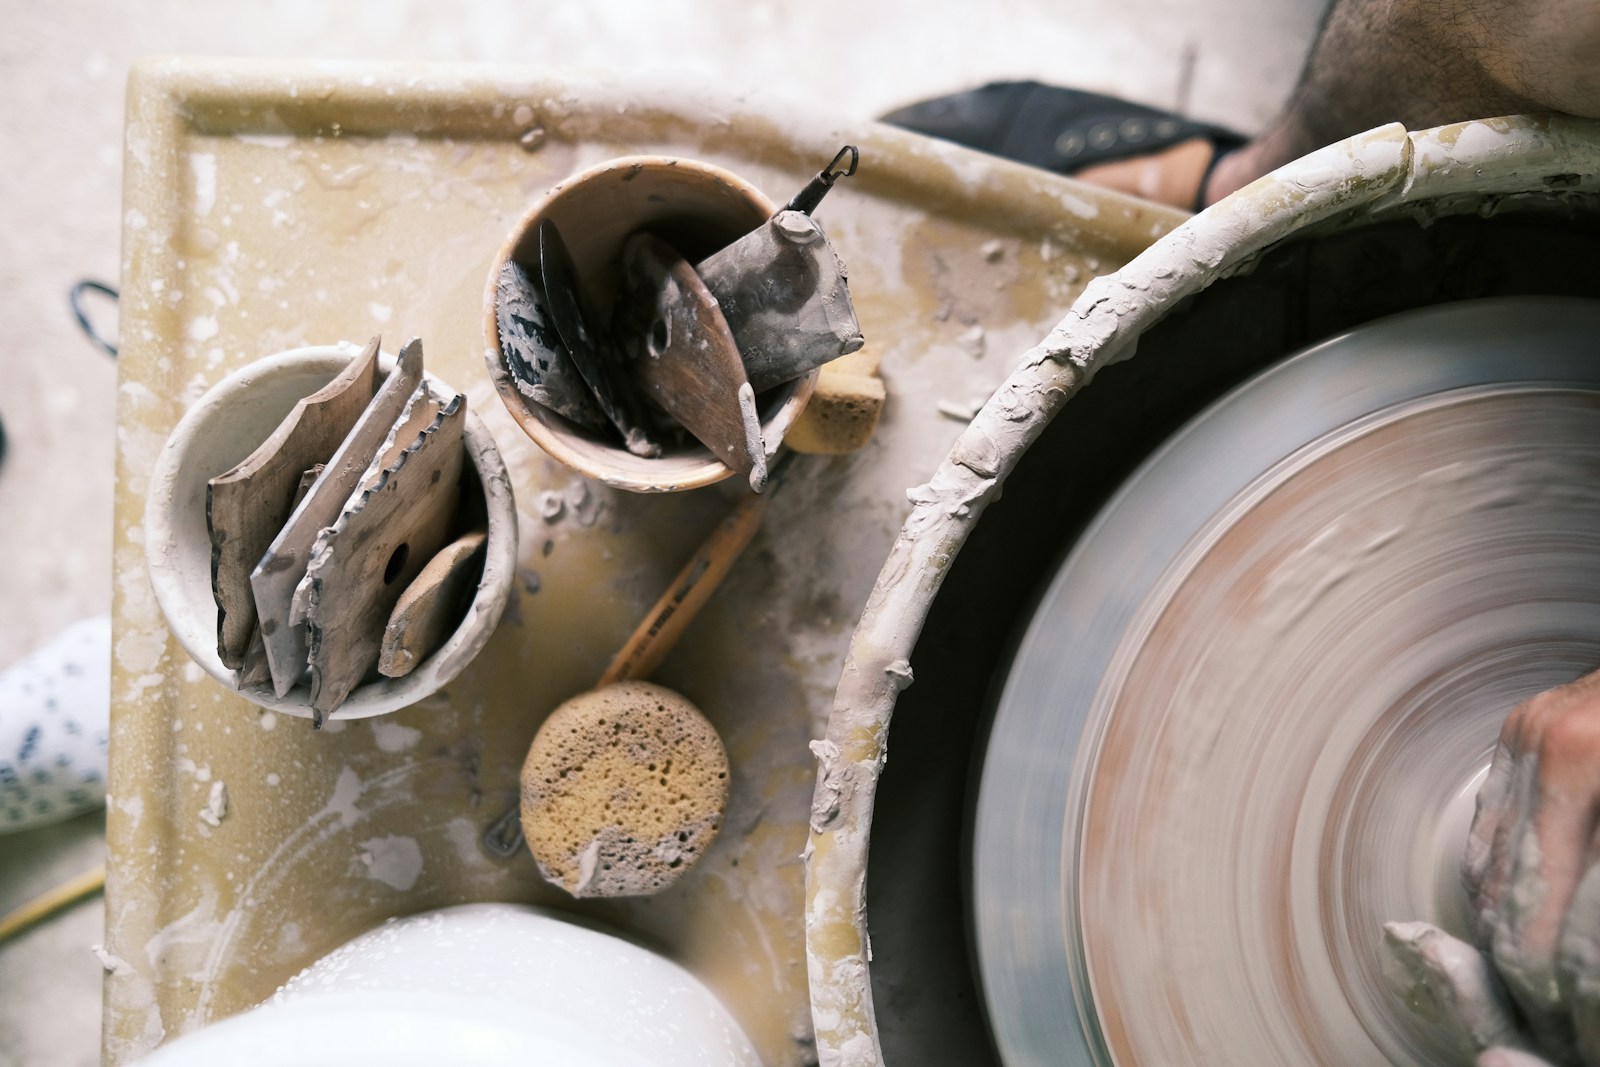
To remember
Measure your soil once, then let the tool apply shrinkage to all your dimensions.
LC
Louis Coffin
Designer and amateur ceramist. Creator of the Gabarits tool.
To read next
Guide
Throwing in batches: 5 tips for making identical mugs
Weighing your balls, height and width gauges, profile templates: the five habits that turn six “roughly similar” mugs into a matching set.
Guide
How to make your own pottery ribs and templates
Cardboard, plywood, plastic or laser-cut: which material for which job, how to cut cleanly, and how to start from a pattern that’s already the right size.
Guide
Pottery without a wheel: 8 easy ideas to make at home
No pottery wheel? No problem. Eight easy slab-building ideas with free printable templates — perfect for starting at home.
Ready to start your first template ?
Free, in your browser. Choose a shape and print to actual size.