Kurinuki for beginners: carve your first cup from a block of clay
Kurinuki is the art of carving a piece from a solid block of clay. A step-by-step introduction to shaping your first cup, keeping the walls even and avoiding cracks.
LC
Louis Coffin
8
Cover image

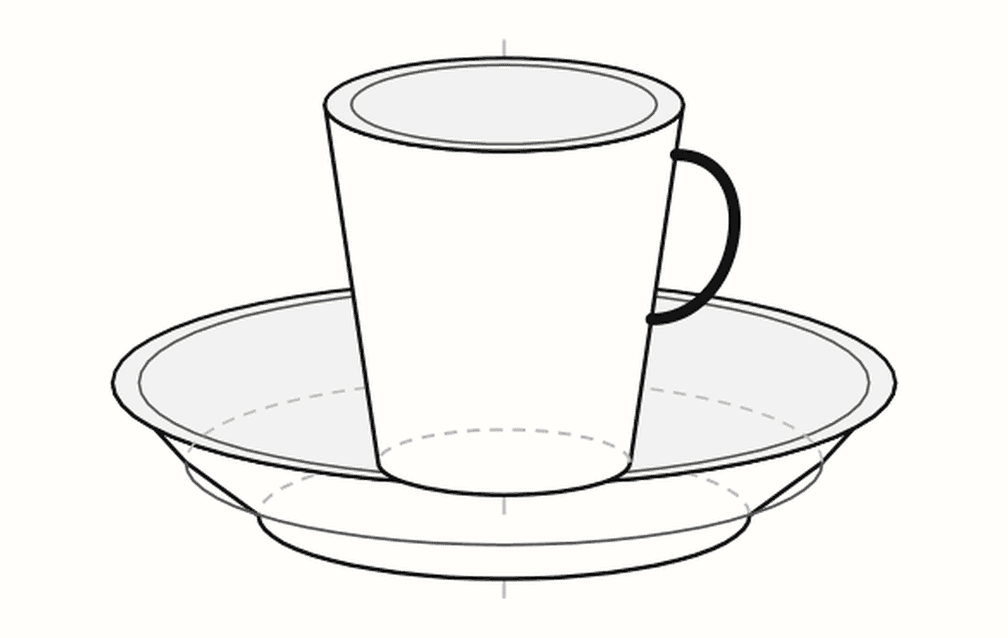
Espresso cup & saucer, on the house
A template to print, then news only when it's worth your time.
Kurinuki is a Japanese technique in which a piece is carved from a solid block of clay rather than assembled. No wheel or slab is needed: just a block, a few tools and patience. The result keeps a raw, faceted character that works beautifully for cups, bowls and vases.
The key challenge for beginners is keeping the wall thickness even and avoiding punctures. Printed templates make those limits easier to read while you shape the clay.
What is kurinuki, exactly?
Unlike coiling or slab building, where you assemble pieces, kurinuki starts from a solid mass. You rough out the outside shape, then hollow the inside from the top, leaving walls of even thickness. It is subtractive sculpture applied to pottery.
Kurinuki tools: what you need
A block of clay (preferably grogged stoneware: it is more forgiving and cracks less)
A cutting wire
Loop tools in several sizes
A knife or a needle tool
A rib and a sponge
Optional but recommended: printed control templates for the outside profile, the top view and the carving section
Step 1 — Prepare and firm up your block
Compact your block well: knock it on the table to drive out air bubbles. This is critical in kurinuki, where one bubble means one chip in the kiln. Let it firm up to soft leather-hard: firm enough to hold a carved shape, soft enough to hollow without forcing. Too soft and it slumps; too hard and it breaks.

Step 2 — Draw the outside shape
Transfer your silhouette onto the faces of the block. To stay symmetrical and hit the right size once shrinkage is accounted for, use an outside profile template: lay it on each face and trace around it. That is what prevents the lopsided piece typical of a first attempt.
👉 Generate your kurinuki templates for free: switch the tool to kurinuki mode and enter your finished sizes. It gives you the outside profile, the top view and the carving section.

Step 3 — Carve the outside
Remove the clay around your silhouette with the wire, then the loop tools, turning the block regularly to keep it balanced. Work down gradually towards the final shape. Don’t chase detail yet: volume first, refinement later.

Step 4 — Hollow out the inside (the key step)
Mark the opening on the top. A printed top view helps you centre it and keep the right opening width. Then hollow from the top with the loop tools, from the centre towards the edges, layer by layer.
The critical point is wall thickness. Aim for an even wall, often 7 to 10 mm in kurinuki. To avoid carving too close to the edge or going through the base, rely on a carving section: it shows how deep to go and where to stop while keeping your target wall. Check often by gently pinching the wall between two fingers.

Step 5 — Refine and sign the surface
Once the wall is even, refine the outside: facets, visible tool marks, or a surface smoothed with a rib. This is where the kurinuki style comes from. Check the foot: the base should be stable and not too thick.

Step 6 — Drying and firing
This is where many kurinuki pieces crack, because of variations in thickness. Dry very slowly, covered with loose plastic, for several days, turning the piece over to even out the drying. Then bisque fire, glaze and fire again.

Common mistakes to avoid
Air bubbles left in the block → chips in the kiln. Compact the block well.
Uneven walls → uneven drying and cracks. Check the thickness as you go.
Going through the base or the rim → carve in layers, with a reference section.
Drying too fast → the number one cause of cracks in kurinuki.
Frequently asked questions
What clay is best for kurinuki?
A grogged stoneware: grog reduces shrinkage and the risk of cracking, which suits the irregular thicknesses of carved pieces.
What wall thickness should I aim for?
Often 7 to 10 mm. That is thicker than a hand-built or thrown piece, which is normal and part of the style.
Can you do kurinuki without special tools?
Yes, a spoon and a knife will do to start, but loop tools make the hollowing much more even.
Kurinuki rewards patience and consistency: a well-prepared block, a controlled wall, slow drying, and a few reference marks so you’re not carving blind.
👉 Create your kurinuki templates now: kurinuki mode, free, nothing to install.
Read next: How much does clay shrink? · For another wheel-free approach, see 8 pottery ideas without a wheel.
To remember
Measure your clay once, then let the tool apply shrinkage to all your dimensions.
LC
Louis Coffin
Designer and amateur ceramist. Creator of the Gabarits tool.
To read next
Ready to start your first template ?
Free, in your browser. Choose a shape and print to actual size.