Accueil / Ressources /
How to calculate your clay’s shrinkage rate (stoneware, earthenware, porcelain)
How to calculate your clay’s shrinkage rate (stoneware, earthenware, porcelain)
The 100 mm test tile, the exact formula, and average shrinkage rates by clay body — so your pots come out of the kiln the size you actually wanted.
LC
Louis Coffin
8
Image de couverture

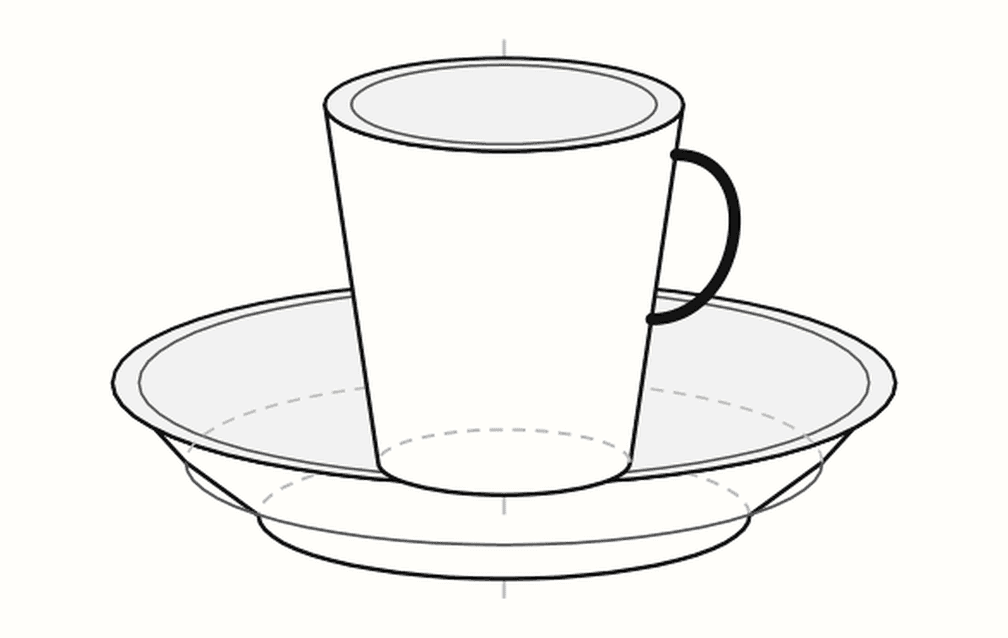
Espresso cup & saucer, on the house
A template to print, then news only when it's worth your time.
Short answer: measure shrinkage by scoring a 100 mm mark on a fresh clay test tile, then measuring that mark again after firing. If your 100 mm became 88 mm, your clay shrinks 12%. To end up with the right finished size, build the piece larger: wet size = finished size ÷ (1 − shrinkage).
The rest of this article covers the method, the formula in both directions, average rates by clay body — and the mistakes that quietly ruin the measurement.
Why your pots always come out smaller
Clay is a mix of particles and water. As it dries, the water between the particles evaporates, they pull closer together, and the piece shrinks once. In the kiln, vitrification fuses those particles, and the piece shrinks again.
The result: a mug thrown 9 cm tall comes out of the kiln at 8 cm. That’s not an accident — it’s a constant, which is exactly what makes it calculable. A potter who knows their clay’s shrinkage doesn’t “miss” a dimension anymore; they specify it.
Total shrinkage (drying + bisque + glaze firing) is the only number that matters for sizing a pot. That’s the one we measure below.
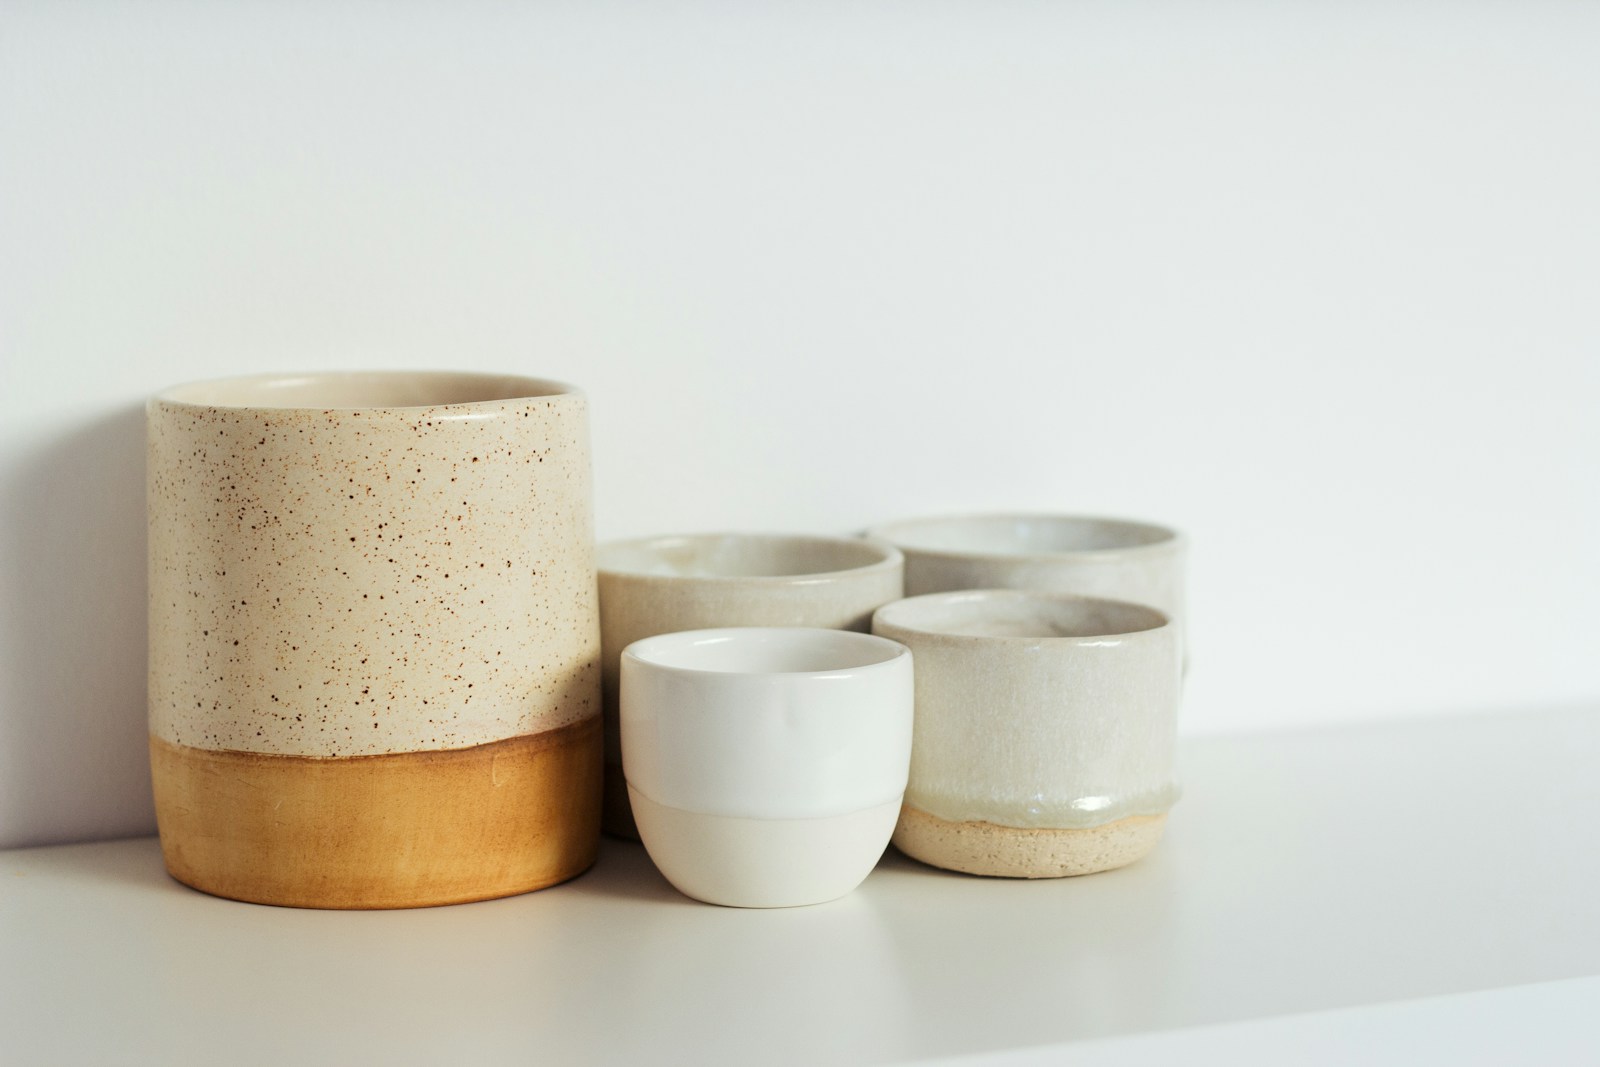
Same template, two clay bodies: a 4-point difference in shrinkage is visible.
The method: the test tile (30 minutes of work, two firings of patience)
This is the standard studio test, and it needs no special equipment.
Step 1 — Make your test tiles
Roll out a slab of the clay you want to test, at the thickness you normally work at (5 to 8 mm). Cut three strips roughly 15 × 3 cm — three, so you can average them and spot an outlier.
On each strip, score two thin, crisp lines exactly 100 mm apart. Use a fine point (a potter’s needle) and a proper metal ruler: this is where the precision of the whole test is decided. Score the clay’s name into the strip too — pencil labels burn off in the kiln.
Why 100 mm? Because the maths becomes mental arithmetic: if the marks measure 88 mm after firing, shrinkage is 12%. Directly.
Step 2 — Dry and fire them normally
Put your test tiles through exactly the same journey as your pots: the same drying (slow, flat, loosely covered for the first few days), the same bisque firing, then the same glaze firing at your usual temperature.
This is the step nearly everyone gets wrong. Measuring after bisque only underestimates shrinkage by several points, because most of the vitrification — and therefore most of the shrinkage — happens in the higher firing.
Step 3 — Measure again and calculate
Measure the distance between your two marks again, with digital calipers if you have them, a metal ruler if you don’t.
Shrinkage (%) = (Wet length − Fired length) ÷ Wet length × 100
Example, with a mark that goes from 100 mm to 87.5 mm:
(100 − 87.5) ÷ 100 × 100 = 12.5%
Average your three tiles. If one differs by more than a point from the other two, throw it out (a badly scored line, uneven drying) and average the remaining two.
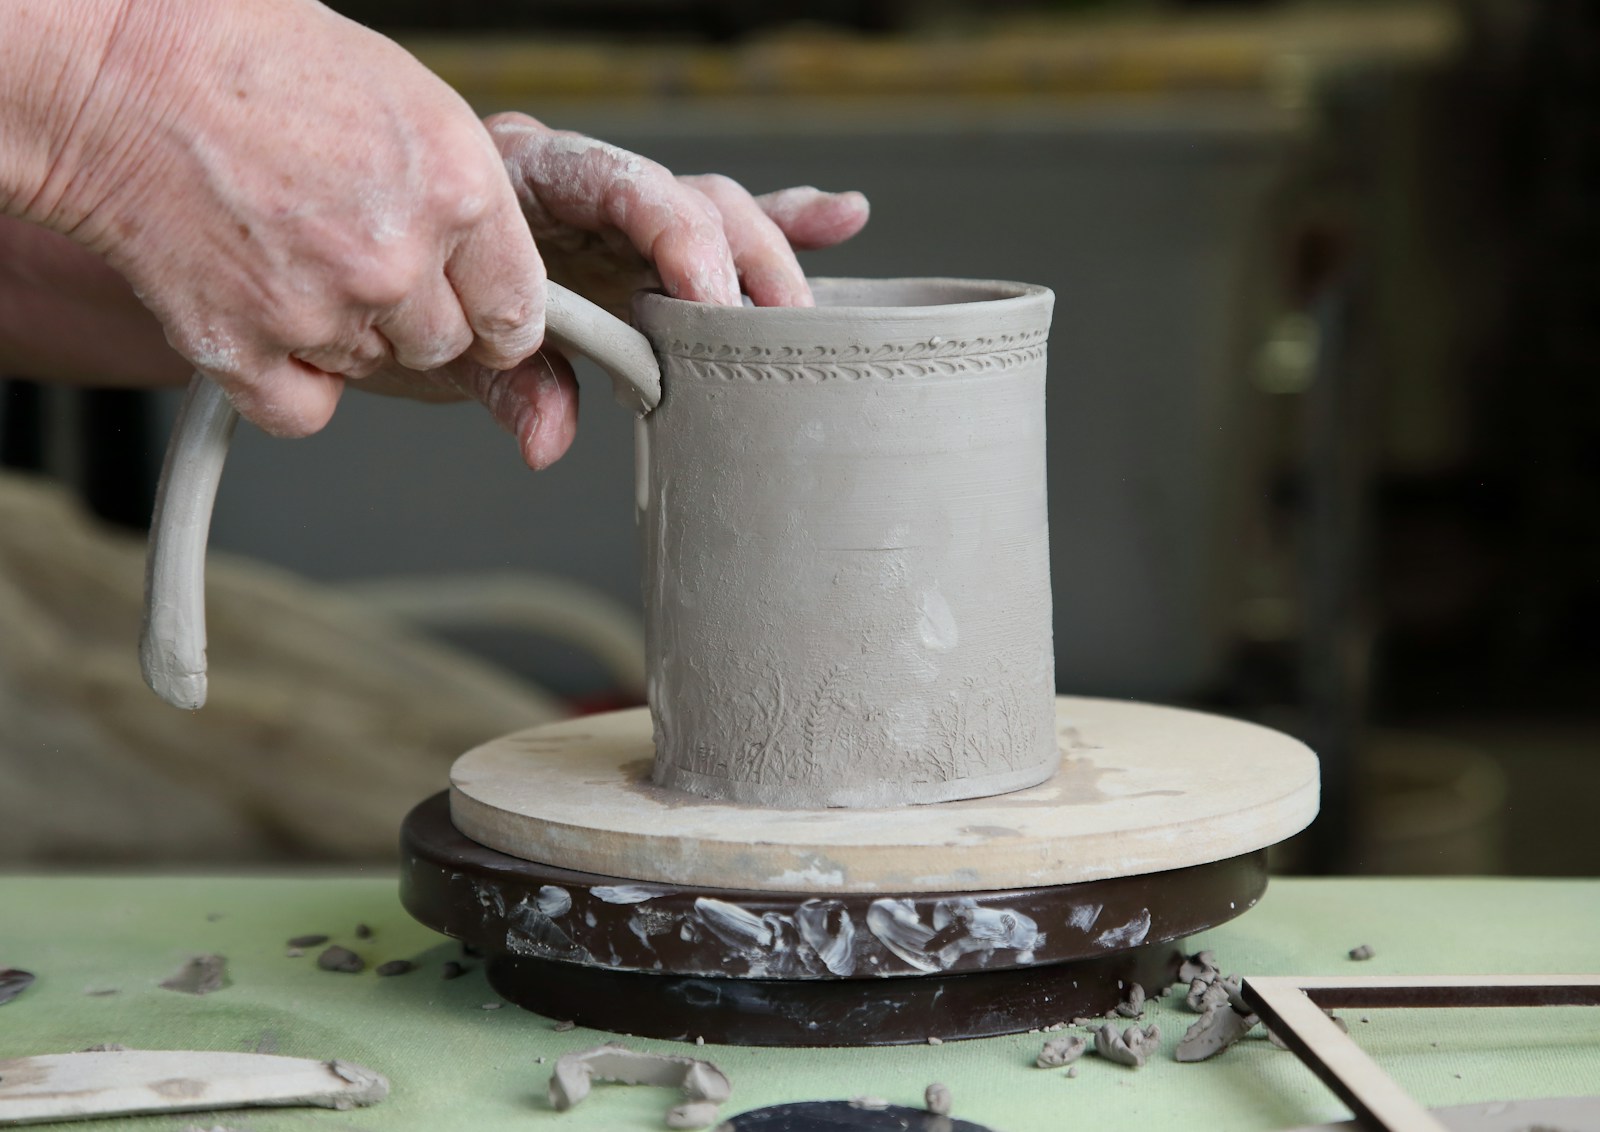
After firing, the original 100 mm is down to 87.5.
The reverse formula: sizing a pot (the one you’ll actually use)
Knowing your shrinkage is useless until you can run it backwards. You don’t want to know how much your pot will shrink — you want to know how big to build it so it ends up right.
Wet size = Finished size ÷ (1 − shrinkage)
Shrinkage goes in as a decimal here: 12% → 0.12.
Example. You want an 8 cm tall mug in a stoneware that shrinks 12%:
8 ÷ (1 − 0.12) = 8 ÷ 0.88 = 9.09 cm
So you build the mug at 9.1 cm.
⚠️ The classic mistake: adding 12% to the finished size (8 × 1.12 = 8.96 cm) instead of dividing. The gap looks tiny on a mug, but it grows with the piece — and it compounds across every dimension. On a 30 cm vase, the wrong formula costs you almost 1 cm.
More importantly, the correction has to apply to every dimension at once — height, diameter, wall development, handle length. Correct a wall development by hand but not the base, and your cylinder no longer closes.
Average shrinkage rates by clay body
These are ballpark figures to start from, not truths: two stonewares from two suppliers can be 3 points apart. Use them to sanity-check your own measurement.
Clay body | Average total shrinkage | Notes |
|---|---|---|
Earthenware (low fire) | 5 – 8% | The lowest shrinkage; porous, barely vitrified. Great for beginners. |
Stoneware (high fire) | 10 – 13% | The studio standard. Grogged stonewares shrink slightly less (grog doesn’t shrink). |
Porcelain | 12 – 16% | The highest shrinkage, and the least forgiving — it’s also the body that warps most. |
Raku / heavily grogged | 6 – 10% | Grog opens the body and limits shrinkage. |
Black / coloured clays | 10 – 14% | Highly variable depending on added oxides — always test these. |
The only rule that counts: these numbers don’t replace your test. Measure each new clay once, write it in a studio notebook, and use it forever.
5 things that will skew your measurement
Measuring after bisque only. You’ll underestimate by 3 to 6 points. Always go through the glaze firing.
Changing firing temperature. A stoneware fired to cone 10 shrinks more than the same body at cone 6. A shrinkage rate belongs to a clay + temperature pair.
Using a single tile. One badly scored line and the whole figure is wrong. Three tiles minimum.
Confusing drying shrinkage with total shrinkage. Drying shrinkage alone (often 4–6%) only helps you anticipate cracks, not size a pot.
Reusing the supplier’s number. Datasheets usually quote a rate measured in lab conditions at a specific temperature. Yours aren’t the same.
What if you stopped doing the maths by hand?
You now have your number. The problem is that it has to be applied to every dimension of every piece, on every project — and on a wall development or a handle, dividing isn’t enough: you also have to compensate for slab thickness (the perimeter is calculated on the neutral fibre, not the outside diameter).
That’s exactly what the Gabarits Céramique tool does: you enter the finished dimensions you want, your measured shrinkage percentage and your slab thickness. It scales the whole pattern accordingly and outputs a full-size printable template (A4 PDF, with a 100 mm control mark on every sheet).
👉 Calculate your shrinkage and generate your template for free
There’s a “firing shrinkage %” field with presets (earthenware, stoneware 8%, porcelain 12%) and the option to enter your own measured shrinkage — the one you just calculated.
Enter your measured shrinkage once; the tool applies it to every dimension.
Frequently asked questions
What is the average shrinkage rate of stoneware?
Between 10 and 13% in total (drying plus firings), depending on the body and temperature. Grogged stonewares sit at the lower end.
How much does porcelain shrink?
Typically 12 to 16%, which makes it the most demanding body to size. It also needs the slowest drying.
Does earthenware shrink less than stoneware?
Yes: fired at low temperature, it barely vitrifies and usually shrinks 5 to 8%.
Do I need to retest every bag of clay?
No, but retest every new clay body, every change of supplier, and any time you change firing temperature.
Is shrinkage the same in every direction?
In theory yes, in practice almost: a thrown pot may shrink very slightly more in height than in diameter because of particle alignment. The difference is negligible for most work.
How do I calculate wet size from finished size?
Divide, don’t multiply: wet size = finished size ÷ (1 − shrinkage). For 8 cm finished at 12% shrinkage: 8 ÷ 0.88 = 9.1 cm.
Measure your clay once, write the number down — and let the machine do the dividing.
👉 Generate a template from my finished dimensions — free, nothing to install.
Read next: Making a slab-built ceramic mug · Printable ceramic cup template
To remember
Measure your soil once, then let the tool apply shrinkage to all your dimensions.
LC
Louis Coffin
Designer and amateur ceramist. Creator of the Gabarits tool.
To read next
Guide
Throwing in batches: 5 tips for making identical mugs
Weighing your balls, height and width gauges, profile templates: the five habits that turn six “roughly similar” mugs into a matching set.
Guide
How to make your own pottery ribs and templates
Cardboard, plywood, plastic or laser-cut: which material for which job, how to cut cleanly, and how to start from a pattern that’s already the right size.
Guide
Pottery without a wheel: 8 easy ideas to make at home
No pottery wheel? No problem. Eight easy slab-building ideas with free printable templates — perfect for starting at home.
Ready to start your first template ?
Free, in your browser. Choose a shape and print to actual size.