Accueil / Ressources /
Making a slab-built ceramic mug: a step-by-step guide
Making a slab-built ceramic mug: a step-by-step guide
Learn how to make a ceramic mug with the slab technique, step by step: prepare the slab, cut the template, build the body and attach the handle. With a free printable pattern.
LC
Louis Coffin
7
Image de couverture

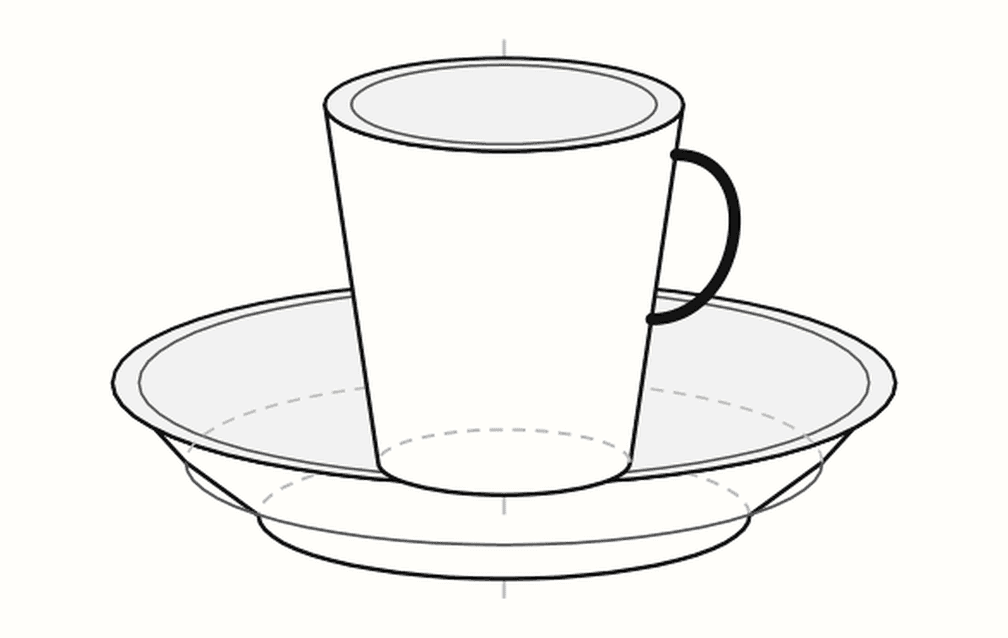
Espresso cup & saucer, on the house
A template to print, then news only when it's worth your time.
Making your own ceramic mug is one of the most rewarding beginner projects — and slab building is the ideal method: no wheel needed, just rolled clay, a template, and a little patience. The one real pitfall? Dimensions. A mug built by eye often comes out too small after firing, or with a poorly proportioned handle.
In this guide we’ll build a clean mug, step by step, with a printable template that handles firing shrinkage and slab thickness for you.
What you’ll need
Clay (stoneware or earthenware)
A rolling pin and two guide sticks (for an even ~5 mm thickness)
A canvas or work cloth
A pottery knife / needle tool
Slip (clay + water) for joining
A rib or a sponge
Your printed template (wall + base + handle)
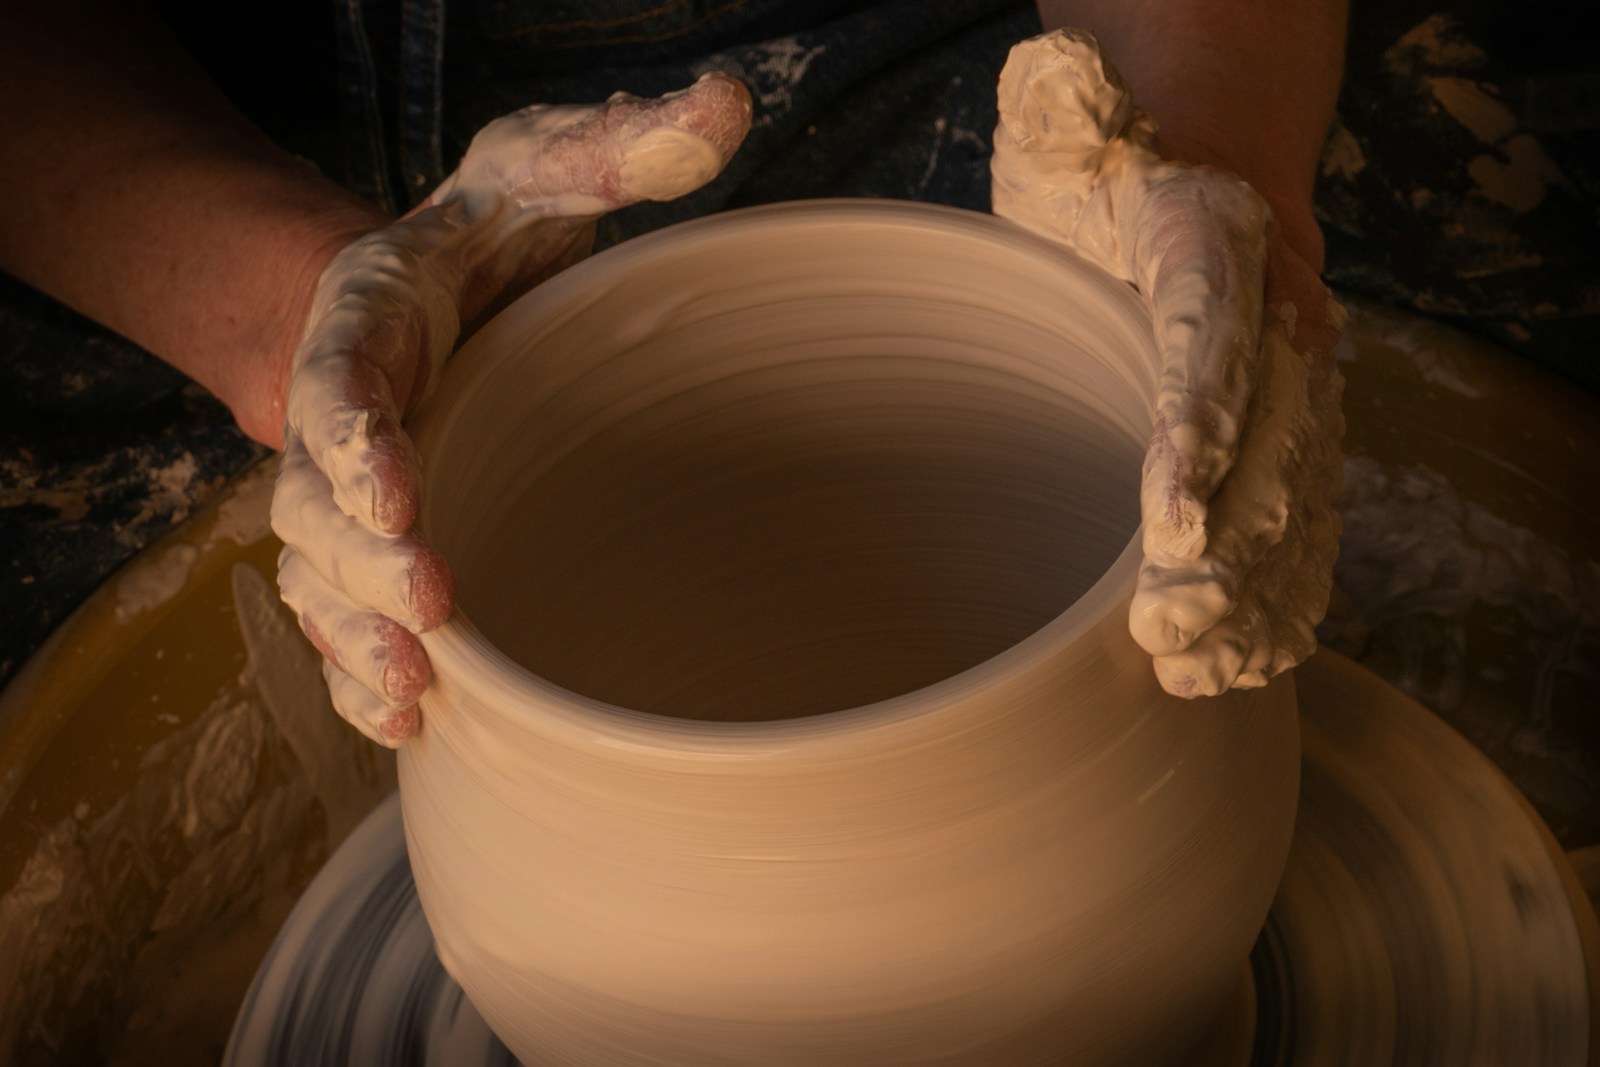
Roll your slab between two sticks for an even thickness.
Step 1 — Prepare your slab
Roll the clay between two 5 mm guide sticks for a perfectly even thickness. An uneven slab means walls that dry unevenly and crack. Let it firm up slightly (soft-leather-hard): it should hold its shape without deforming, yet stay supple enough to roll.
Step 2 — Cut your template
This is where it all happens. Instead of working out the circumference by hand, generate your pattern with the tool: enter the finished diameter and height you want, your shrinkage percentage, and the slab thickness — it outputs a full-size template (developed wall + base + handle profile).
👉 Create your mug template for free
Print at 100 %, cut out the paper, lay it on your slab and cut the clay along the lines.
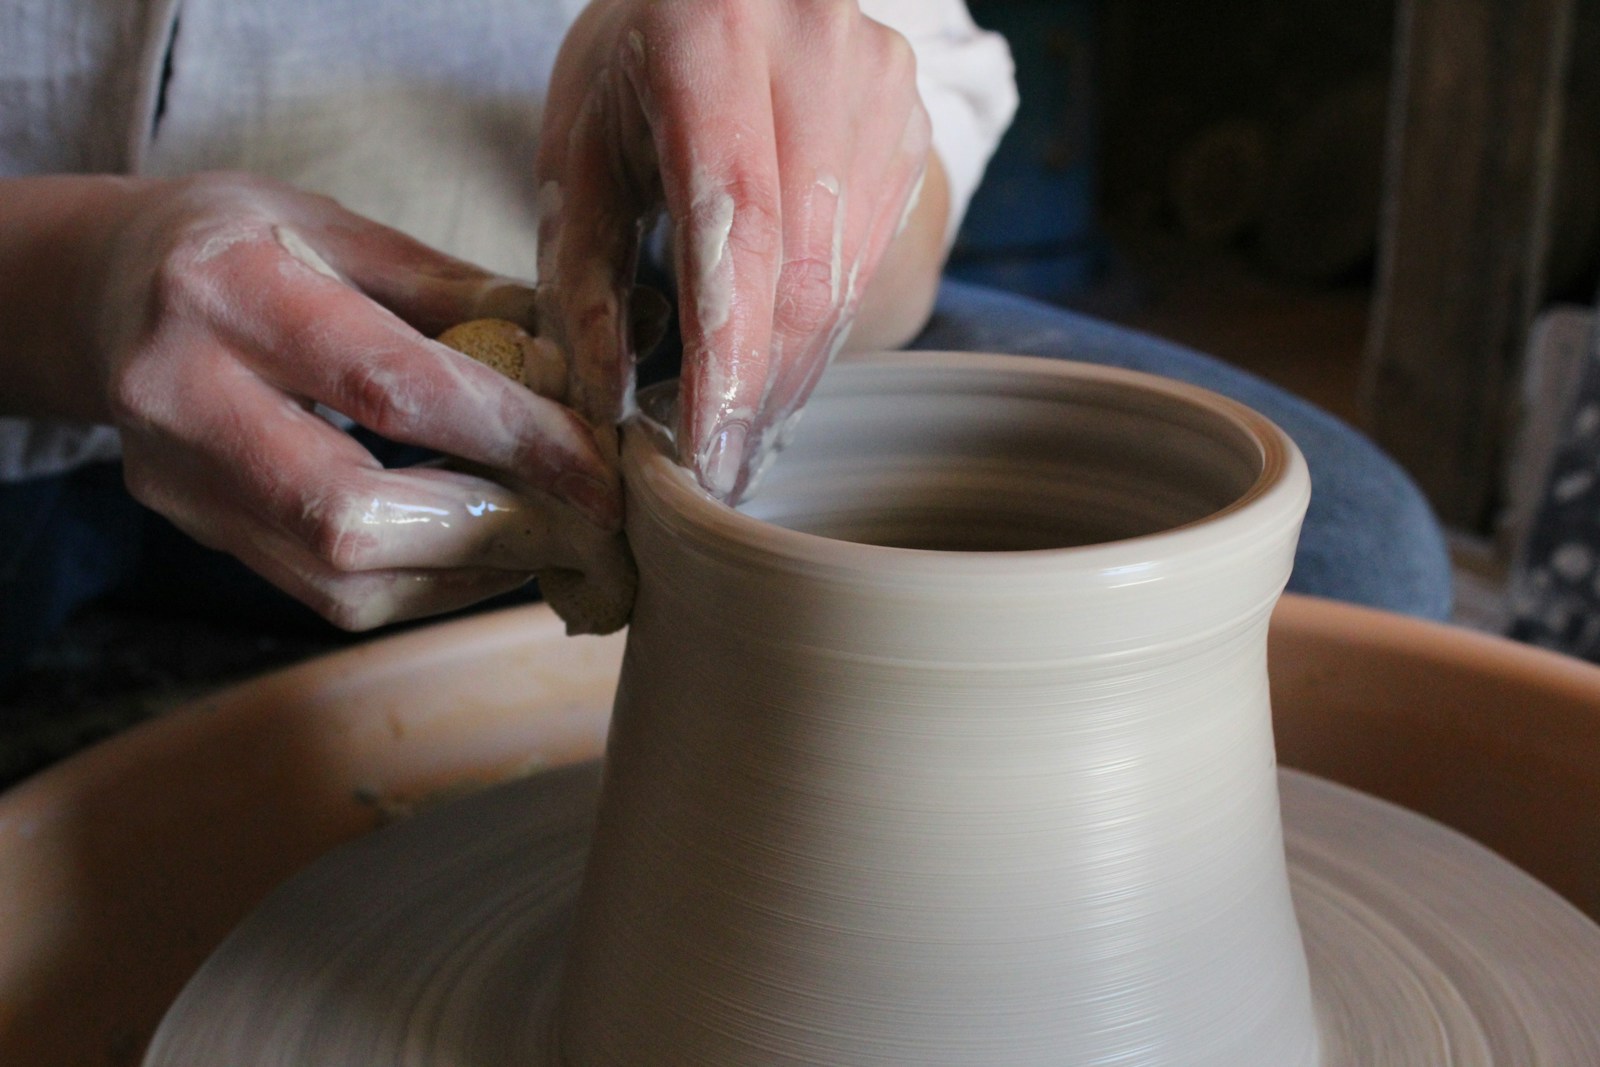
The template on the clay: just follow the lines.
Step 3 — Build the body
Roll the wall into a cylinder. Bevel both edges to be joined at 45°, score them, apply a little slip, then press the seam firmly together. Smooth the join inside and out: it’s the most fragile seam of the mug.
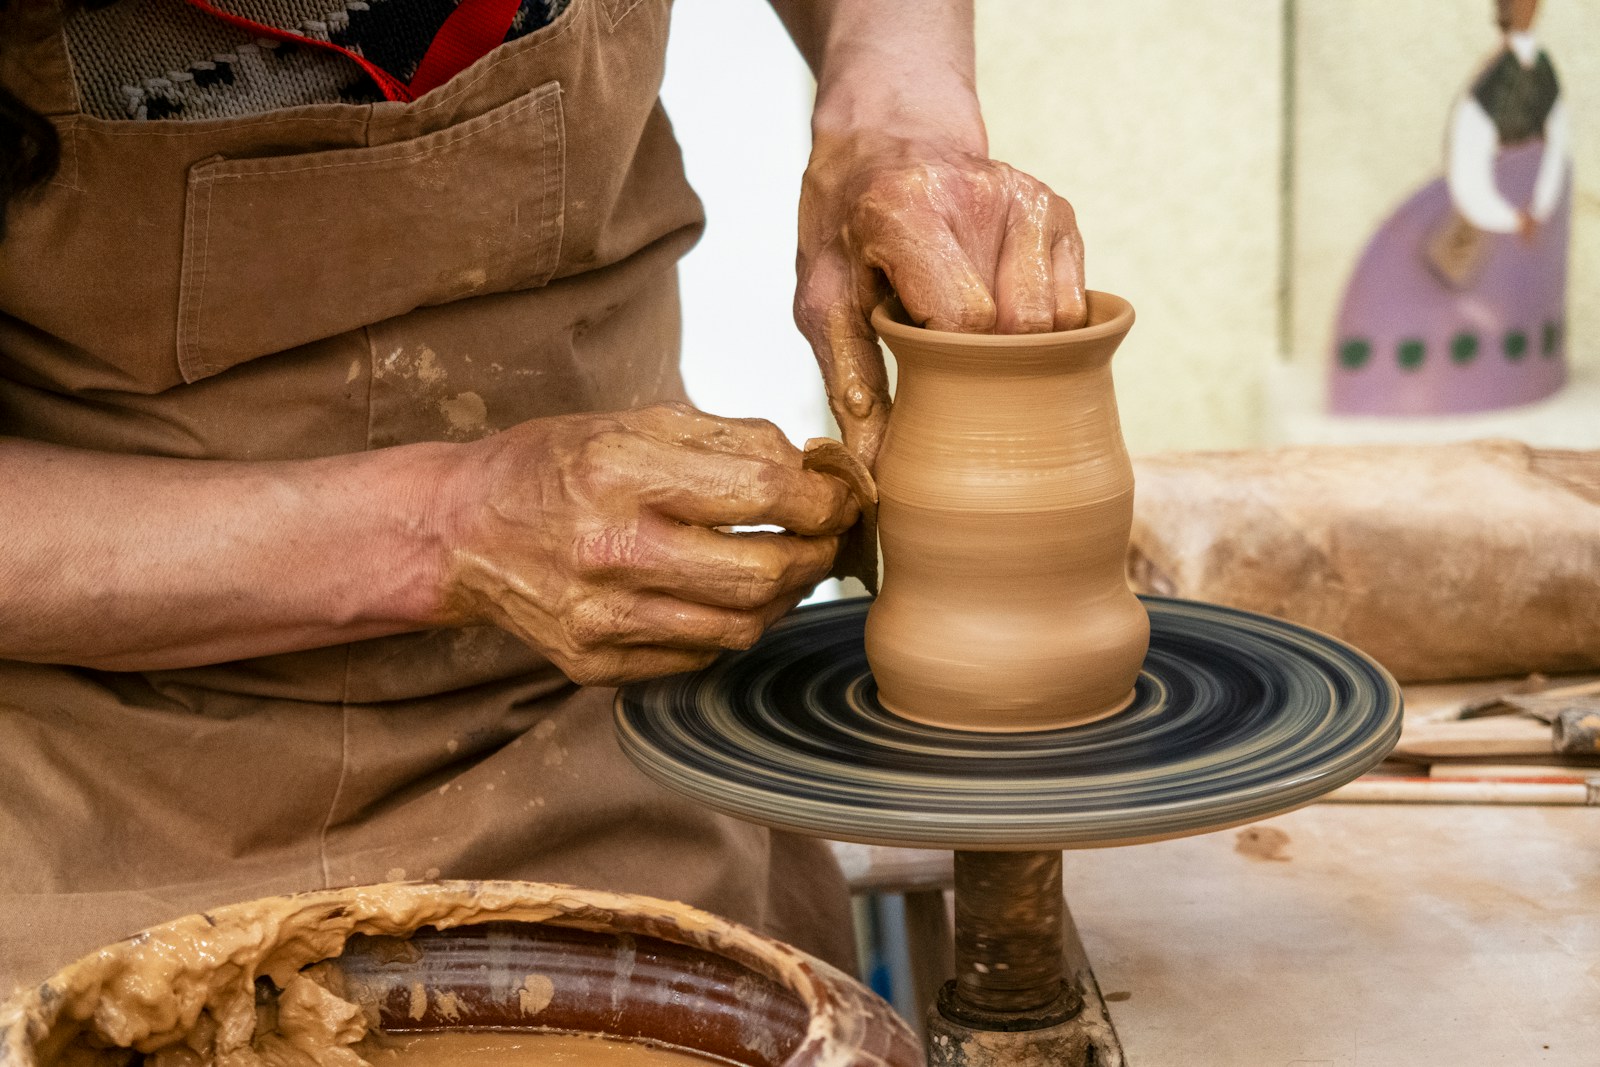
The rolled body, seam scored then smoothed.
Step 4 — Add the base
Set the cylinder on the base disc, trace the outline, cut. Score + slip all around, join, then reinforce the inside with a small coil smoothed into the join. Check there’s no air gap in the seam.
Step 5 — Shape the handle
Use the handle profile from your template for the correct developed length. Shape it, let it firm up flat for a few minutes (a too-soft handle sags), then attach it (score + slip) at two solid points. Smooth the joins with a damp finger.
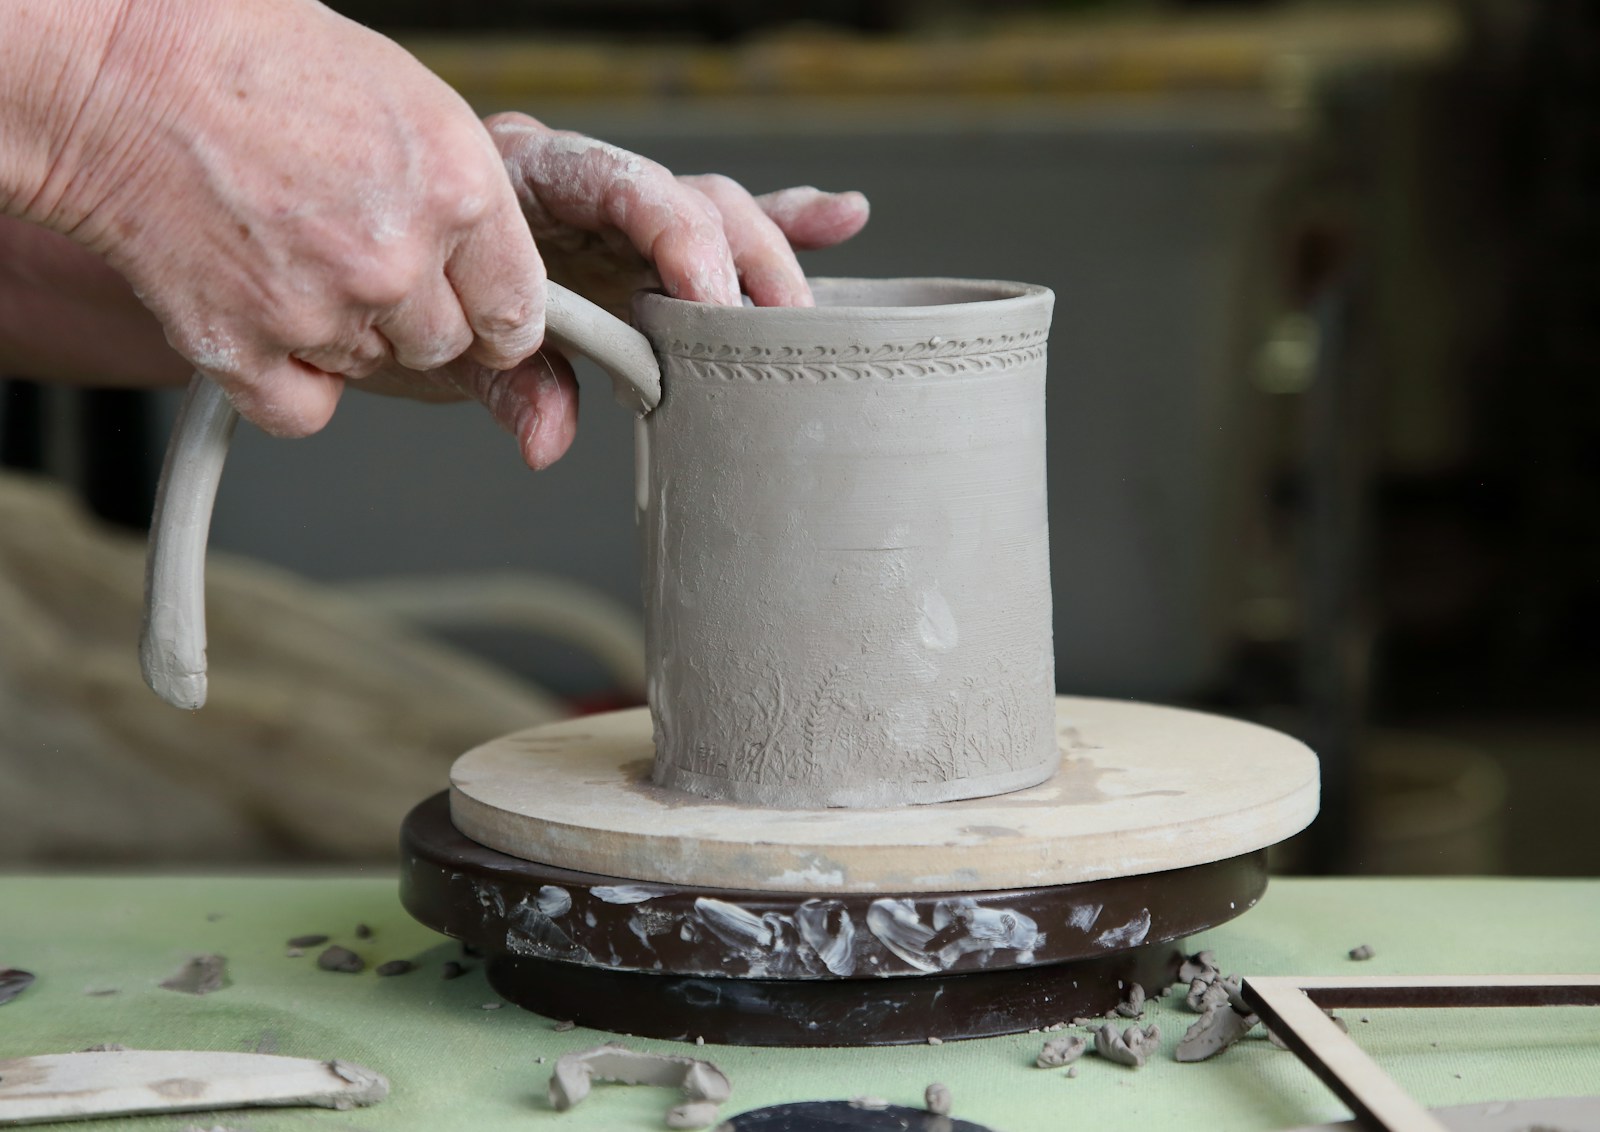
The handle, firmed up then joined at two solid points.
Step 6 — Drying and firing
Dry slowly and covered (under loose plastic) for a few days: the handle and body must dry at the same rate, or it cracks. Then bisque, glaze, glaze firing.
Common mistakes to avoid
Poorly joined seams → always score + slip, never join “dry”.
Handle too thin or too soft → let it firm up before attaching.
Drying too fast → the number-one cause of cracks.
Forgetting shrinkage → without compensation, your 8 cm mug comes out at 7 cm. (The template handles it.)
FAQ
What slab thickness for a mug?
About 5 mm: sturdy enough to hold heat, thin enough to stay comfortable in the hand.
How much does a mug shrink when fired?
Depending on the clay, often 10 to 14 %. Measure your clay’s shrinkage once, then enter it in the template.
Can you make a mug from a slab without a wheel?
Yes — that’s the whole point: slab building needs no wheel, just a rolling pin and a template.
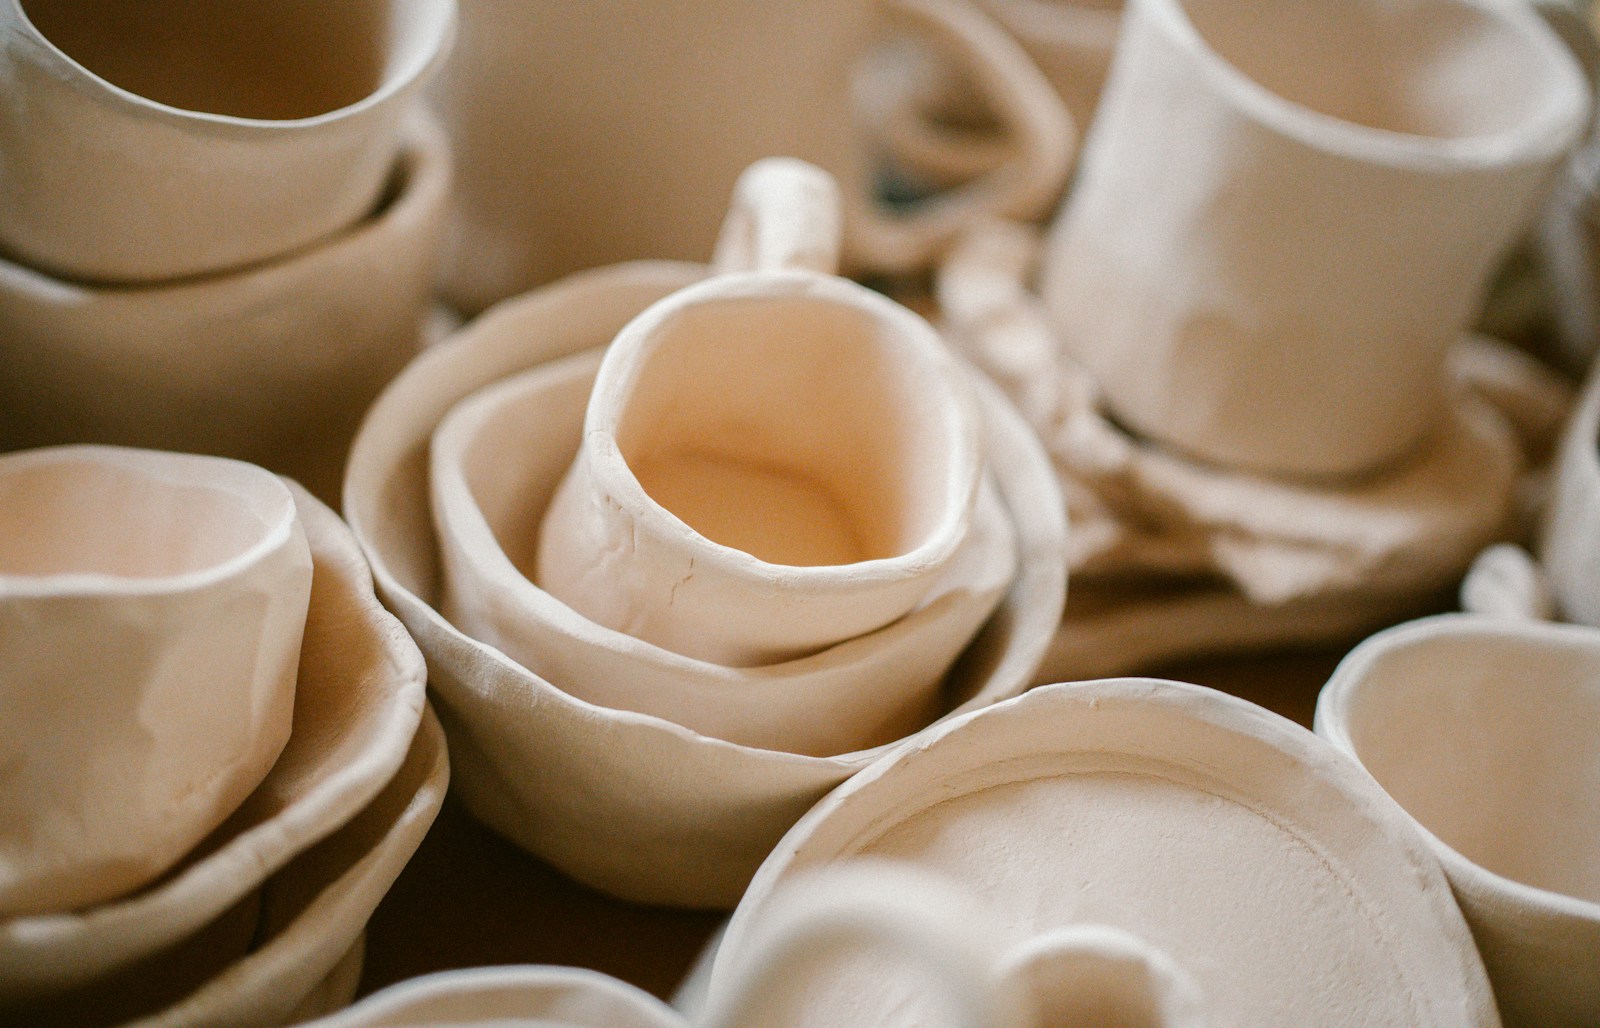
The result: a mug in your dimensions, built without a wheel.
A good mug starts with a good template. Enter your sizes, print, cut — and focus on the pleasure of building the piece.
👉 Generate your mug template now — free, no install.
Read next: How to measure your clay’s shrinkage
For more slab-building projects, explore eight pottery ideas without a wheel
To remember
Measure your soil once, then let the tool apply shrinkage to all your dimensions.
LC
Louis Coffin
Designer and amateur ceramist. Creator of the Gabarits tool.
To read next
Guide
Throwing in batches: 5 tips for making identical mugs
Weighing your balls, height and width gauges, profile templates: the five habits that turn six “roughly similar” mugs into a matching set.
Guide
How to make your own pottery ribs and templates
Cardboard, plywood, plastic or laser-cut: which material for which job, how to cut cleanly, and how to start from a pattern that’s already the right size.
Guide
Pottery without a wheel: 8 easy ideas to make at home
No pottery wheel? No problem. Eight easy slab-building ideas with free printable templates — perfect for starting at home.
Ready to start your first template ?
Free, in your browser. Choose a shape and print to actual size.