Accueil / Ressources /
Printing a pottery template at actual size (no scale errors)
Printing a pottery template at actual size (no scale errors)
Your template has to print at the exact size or everything downstream is wrong. The 100 % setting browser by browser, a five-second check, and how to tile a large template.
LC
Louis Coffin
3
Image de couverture

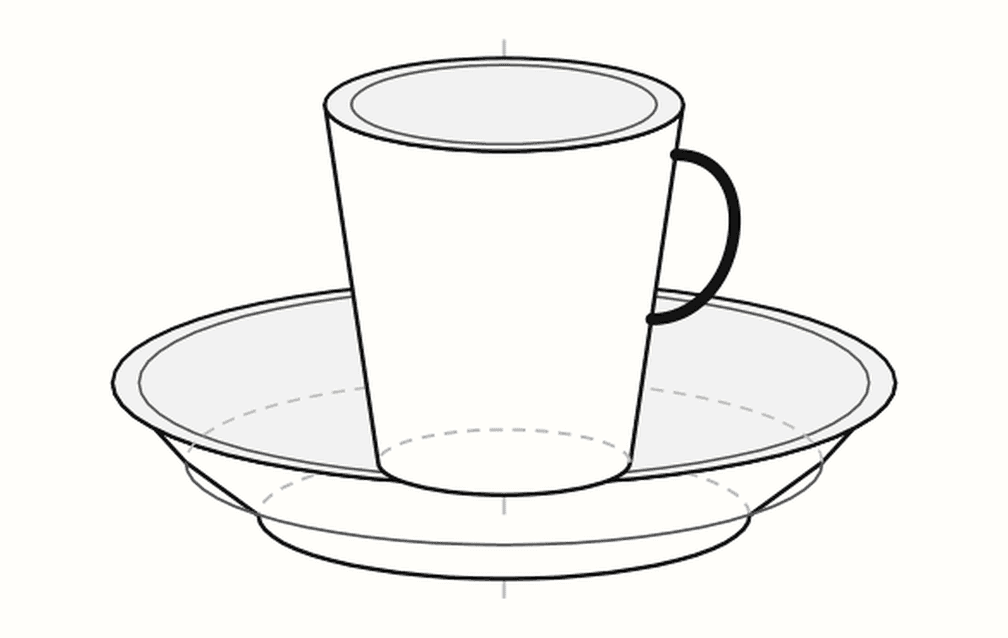
Espresso cup & saucer, on the house
A template to print, then news only when it's worth your time.
Short answer: turn off "Fit to page" and set the print scale to 100 %, then measure the check bar in the header of the sheet — it has to be exactly 5 cm (1.97 in). If it is, cut with confidence.
A template printed 4 % too small doesn't look wrong. It looks wrong after the firing, when your mug won't fit under the coffee machine, or the lid you spent an evening on won't close.
This is the one place where slab building doesn't forgive. Everything else can be adjusted as you go; a wrong print scale can't.
Why templates rarely print at the right size
By default, your browser isn't trying to respect dimensions. It's trying to make the page fit.
That setting is called "Fit to page", "Scale to fit" or "Shrink oversized pages" depending on the software, and it is on by default almost everywhere. It typically shrinks the print by 3 to 6 % to leave a safety margin — ideal for an invoice, ruinous for a template.
On a 3.5 in mug, a 4 % reduction is about 1/8 in gone. Add your clay's firing shrinkage on top, and the finished piece is noticeably off.
There is nothing to fix in the template. It's correct. It's the print setting that has to be switched off.
Setting your print to 100 %
The most reliable route: download the PDF, then print that. You go through your PDF reader instead of the browser, where the scale setting is explicit and named. This is what I'd recommend if you want no surprises.
Chrome or Edge In the print window, expand More settings. Find Scale, switch it to Custom, and enter 100. While you're there, check that Margins is set to Default — not None. The margins are already built into the template.
Safari or Preview on Mac The print sheet offers Scale to fit or Scale. Choose Scale and enter 100 %. In Preview, it sits under Page Handling.
Adobe Acrobat Under Page Sizing & Handling, choose Actual size. Never leave it on Fit or Shrink oversized pages.
From a phone This is where it breaks down. AirPrint and Android printing almost never expose a scale control, and they apply automatic fitting without telling you. The simplest fix: save the PDF and send it to a computer, then print from there. Your phone is fine for designing the template and saving it — keep the computer for the printing.
Check it in five seconds
Every sheet you print carries a check bar in its header, 50 mm long with centimetre graduations. It isn't decoration. It's your control.
Put a ruler on it. If it measures exactly 5 cm (1.97 in), your print is at the right scale. If it comes out at 4.8 cm, you printed at 96 % — go back to the setting above and print again.
Get into the habit of measuring it before you cut, not after. It costs five seconds and saves a whole slab.
The same reminder appears in the "BEFORE YOU CUT" box on the studio sheet included with every export.
Letter or A4: choose before you print
The two sizes are not the same. US Letter is 8.5 × 11 in (216 × 279 mm); A4 is 210 × 297 mm — narrower and taller.
Print an A4-calibrated template on Letter paper, or the reverse, and your printer will try to "help" with the difference. It will do that by changing the scale, which is exactly what we're avoiding.
The Letter / A4 selector sits next to the units selector in the tool. Set it to the paper actually loaded in your tray, and the layout adjusts itself.
If you work in inches, switch the units too — every dimension, including the check bar label, follows.
Tiling a large template across sheets
A large piece won't fit on one sheet. Rather than shrink it — which brings back the original problem — the template is split into tiles, and every sheet tells you how it connects.
On each edge that continues, you'll find an arrow and the number of the neighbouring sheet. In the footer, a small assembly map shows where that sheet sits in the whole, along with its pagination (sheet 2 of 4, for instance).
The method:
Print every sheet in one go, at the same setting. Don't reprint a single sheet later — the setting may have reset without you noticing.
Lay them out following the assembly map, without taping yet.
Overlap the edges following the arrows, until the lines run through perfectly.
Tape from the back, keeping the paper taut.
Measure the check bar again on the assembled sheet. That's where a drift shows up.
The piece dimensions are repeated at the foot of every sheet, so even if one gets separated from the set, you still know what you're cutting.
No printer?
Two options.
The SVG export is vectorial, so it keeps its real dimensions. Send it to a laser cutter, a Cricut, or a copy shop that will print it to scale.
A copy shop: hand them the PDF and specify "at 100 %, no scaling". The check bar lets you verify their work on the spot, before you pay.
Common mistakes
Printing "borderless". It sounds right, it isn't: borderless mode often stretches the image to cover the sheet. Leave margins on Default.
Reprinting one sheet from a set. The scale setting may have reset in between. Reprint the whole set.
Cutting before measuring the check bar. The error only shows after the firing, when it's too late.
Forgetting shrinkage. The print can be perfect and the piece still come out small — that's the clay, not the printer. → How to calculate your clay's shrinkage rate
Confusing scale with thickness. Slab thickness changes the developed shapes, not the print scale. → What slab thickness should you use?
FAQ
I printed at 100 % and my template still came out small. Why? Measure the check bar. If it reads 5 cm, the print is correct and the problem is elsewhere — usually firing shrinkage, which the tool handles once you enter your clay's rate.
Can I print straight from my phone? Technically yes, but the scale is almost never adjustable and automatic fitting applies silently. Save the PDF and print it from a computer.
Do I need special paper? No. Ordinary printer paper is fine — you're laying it on the clay and cutting around it. Heavier paper holds up better if you plan to reuse the template.
My template spans four sheets. Is that normal? Yes. Past a certain size the piece is tiled rather than shrunk. The arrows and the assembly map in the footer show you how it goes together.
Is shrinkage already included in the template? Yes, once you've entered your clay's shrinkage rate. The template is then drawn at wet dimensions, so the finished piece comes out at the size you asked for.
To remember
Measure your soil once, then let the tool apply shrinkage to all your dimensions.
LC
Louis Coffin
Designer and amateur ceramist. Creator of the Gabarits tool.
To read next
Guide
Throwing in batches: 5 tips for making identical mugs
Weighing your balls, height and width gauges, profile templates: the five habits that turn six “roughly similar” mugs into a matching set.
Guide
How to make your own pottery ribs and templates
Cardboard, plywood, plastic or laser-cut: which material for which job, how to cut cleanly, and how to start from a pattern that’s already the right size.
Guide
Pottery without a wheel: 8 easy ideas to make at home
No pottery wheel? No problem. Eight easy slab-building ideas with free printable templates — perfect for starting at home.
Ready to start your first template ?
Free, in your browser. Choose a shape and print to actual size.